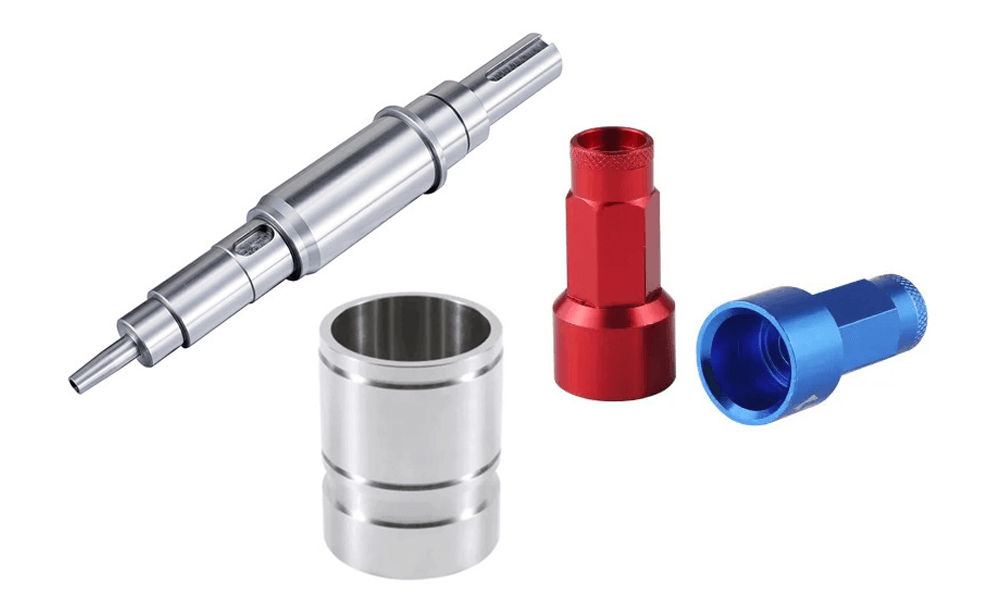
Run a thumb along a brand‑new workpiece fresh from the mill. Those faint tool marks and peaks in surface roughness decide whether the part glides or grinds later on. In precision shops, dimensional numbers alone don’t win—the surface finish does. A well‑planned finish drops friction, seals out contaminants, nails tight tolerances, and keeps durability high even when the part sees high speeds or brutal weather.
That story matters for CNC machined parts, injection molding shots, and even quick prototyping runs from 3D printing. Picking the wrong path will burn money in post‑processing fixes. Pick the right one, and your customer sees a flawless, high‑quality part that performs for years.
Why Surface Finishing Matters in CNC Machining & Injection Molding
Before diving into specific surface treatments, it’s essential to understand why surface finishing is critical:
Visual impact Buyers judge in seconds. A consistent matte finish on a camera body, a mirror polish on a surgical tool, or a subtle satin finish on an automotive bezel signals care and quality before the user ever powers the product on.
Performance gains Knock down the part’s average roughness and you cut friction, shed heat, and dial up wear resistance. Smoother copper traces also lower contact resistance in high‑current electronics, squeezing out free efficiency.
Real protection Salt, sweat, and cleaning chemicals chew metal. A dense paint film, ceramic‑hard anodicoxide layer, or tight conversion coating seals the surface and locks in multi‑year corrosion resistance.
Regulatory peace of mind Medical implants and aerospace brackets ship with strict Ra targets, explicit dimensional tolerances, and pre‑approved chemistry lists. Miss any spec, and the part fails the audit, sometimes after the expensive build is done.
Reliable bonding Glue and paint need something to grip. A controlled, micro‑rough surface texture—from bead blasting, light etch, or fine grit—gives adhesives the anchor they need so nothing flakes off in service, and no warranty claims land on your desk.
3 Types Of CNC Machining Finish
Physical Surface Treatment
This process relies on purely mechanical action—grinding, bead blasting, honing, and shot peening—to create smoothness or texture without changing chemistry. They’re quick, often cost‑effective, and easy to fold into the normal machining or post‑processing flow.
Because nothing new is added to the part’s surface, dimensional change stays minimal, so you keep the high‑precision geometry laid down by the cutters while upgrading feel, gloss, or grip for a high‑quality result.
Chemical & Electrochemical Treatments
Use baths, electrolytes, or controlled currents to grow or swap material right on the metal. Processes like anodizing, black oxide, passivation, and electropolishing alter the surface crystal by crystal, improving hardness, conductivity, or corrosion resistance for a specific application—from aerospace brackets to food‑grade mixers. The layer forms in sync with the base metal, locking in protection that mechanical methods alone can’t touch.
Sprayed & Deposited Coatings
Cover everything from wet paint to powder coating and electroplating. Here, you add colour, toughness, or specialty traits (such as low‑friction or high‑conductivity) in a single pass. These finishes can be tuned glossy or matte, thick or thin, making them some of the most flexible surface finishing options in modern manufacturing. Done well, they create a seamless shell that doubles as a brand statement and functional armor.
Use one family on its own, stack several in sequence, or split the work between your shop and a trusted outside vendor. With today’s broad menu of surface finishing options, you can dial in exactly what each part needs—nothing more, nothing less—and still keep budgets sane and lead times tight.
Physical Treatments: Fast, Direct, Proven
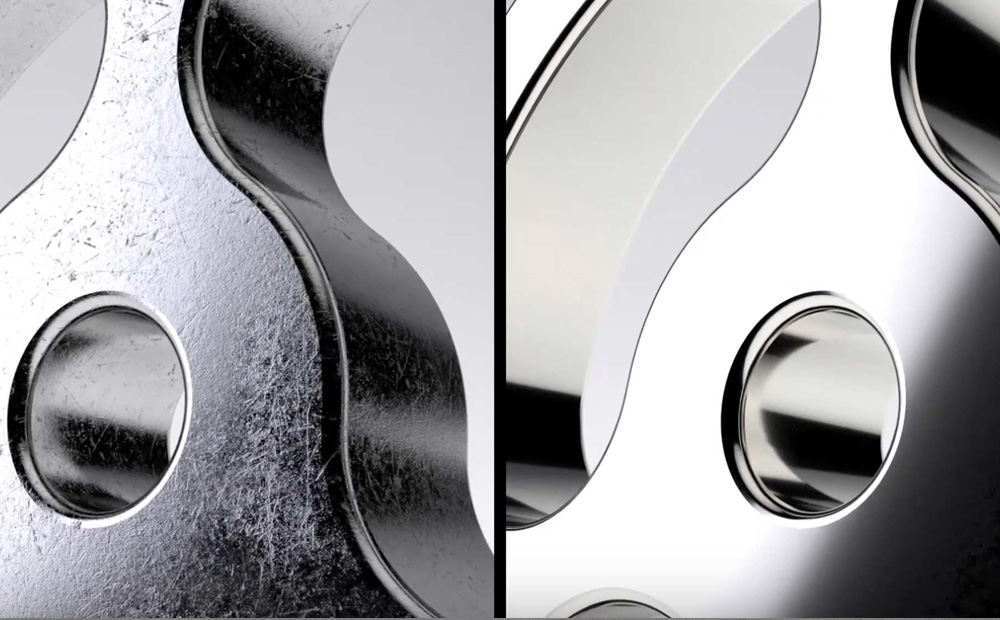
#1. Polishing
Polishing is a surface finishing process that smooths and refines a material’s exterior to achieve a high-gloss, mirror-like, or satin finish. It removes microscopic imperfections, burrs, and scratches, enhancing both aesthetics and functionality.
This method is ideal for aesthetic applications, such as consumer products, jewelry, and medical devices.
#2. Brushing & Satin Lines
Run a belt or wheel in one direction and you get that upscale grain seen on kitchen appliances. It conceals fingerprints, adds grip, and delivers a cool satin finish without heavy buffing.
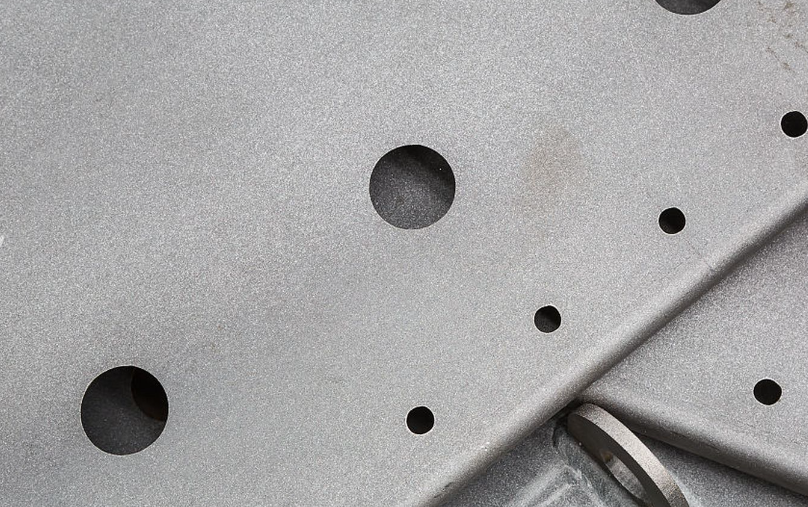
#3. Bead Blasting
Compressed air fires abrasive media to erase cutter paths on cnc parts or die‑cast alloys. Swap aluminum‑oxide grit for glass beads when you want a softer matte look on sheet metal covers.
Result: a clean, uniform skin ready for dye, powder, or nothing at all.
Polishing vs. Brushing vs. Sandblasting
Finish Type
Texture
Best For
Polishing
Mirror-smooth
Aesthetic & hygienic parts
Brushing
Directional grain
Scratch-resistant surfaces
Sandblasting
Matte/textured
Paint adhesion & grip
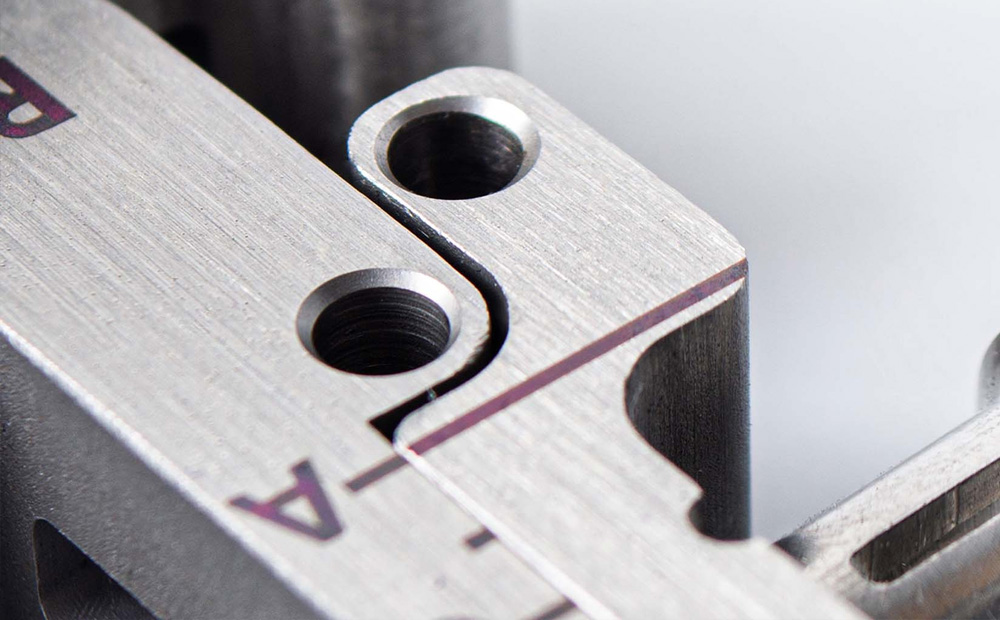
#4. Deburring & Edge Relief
Tiny burrs and sharp edges raise injury risk and scuff mating parts. Vibratory bowls, abrasive stones, or high‑speed spindles knock them off fast, leaving a smoother surface without robbing material beyond the allowed maximum height.
Chemical & Electrochemical Surface Finish
Chemical treatments alter the surface layer of a part through chemical reactions, improving corrosion resistance, hardness, or aesthetic properties.
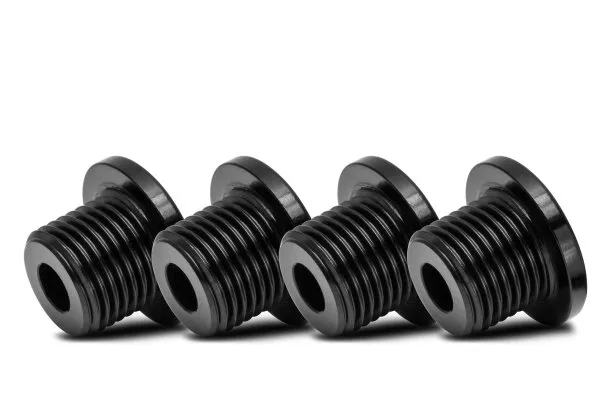
#1. Black Oxide
A low-temperature conversion coating for carbon steels. It darkens, hides glare, and raises oil retention without changing size. A solid, cost‑effective choice for tools and firearm components.
Types of Black Oxide Finishes
Finish Type
Process
Best For
Hot Black Oxide
Traditional alkaline bath
Steel, stainless steel
Mid-Temp Black Oxide
Operates at ~200°F (93°C)
More environmentally friendly
Cold Black Oxide
Room-temperature selenium-based solution
Low-cost touch-ups (less durable)
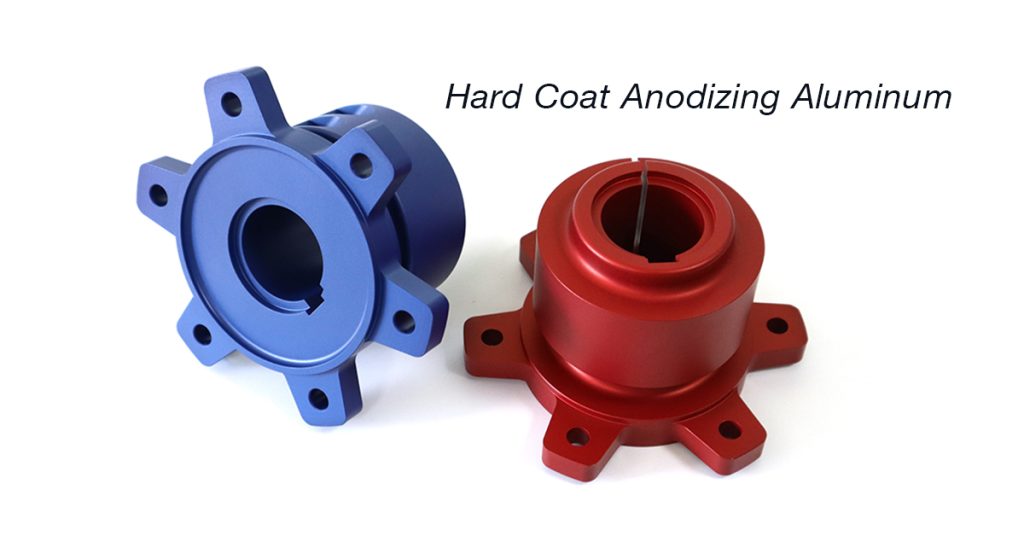
#2. Anodizing (Type II & Type III)
The signature move for aluminum parts. The controlled process of anodizing grows ceramic Al₂O₃.
Type II colour gadgets and boosts scratch resistance.
Type III (hard‑coat) thickens the shell for gun rails and landing‑gear bushings.
Both bond at the molecular level, so the film won’t flake even after hard knocks.
Types of Anodizing Finishes
Type
Process
Thickness
Best For
Type I (Chromate Anodizing)
Uses chromic acid
0.5–5 µm
Aerospace (lightweight, non-conductive)
Type II (Sulfuric Acid Anodizing)
Most common method
5–25 µm
Industrial, automotive, consumer goods
Type III (Hardcoat Anodizing)
Thicker, more wear-resistant
25–150 µm
Military, firearms, high-wear parts
Color Anodizing
Dye added after anodizing
Varies
Aesthetic applications (electronics, jewelry)
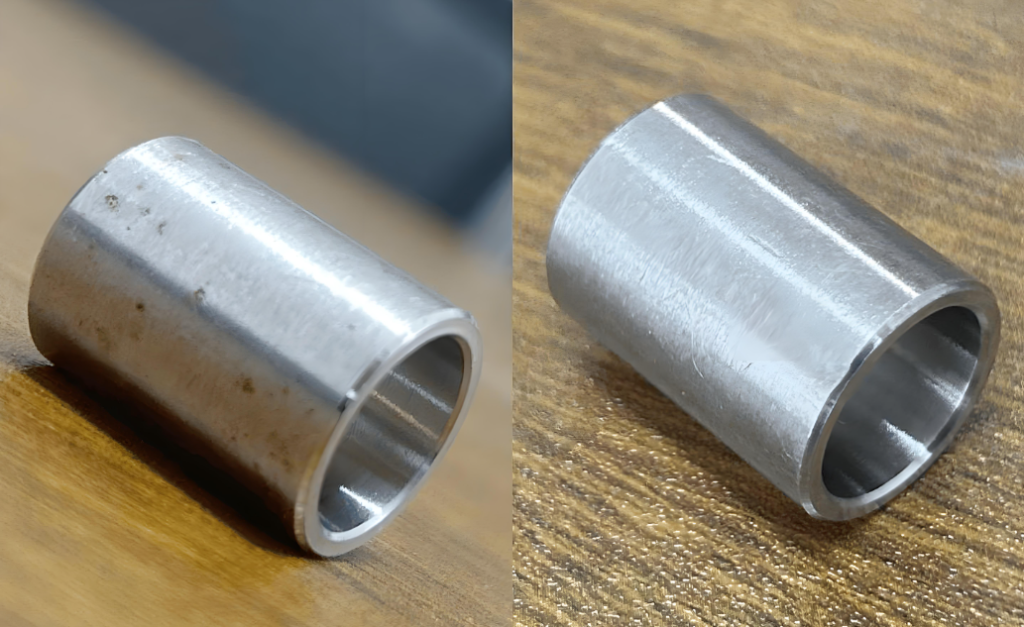
#3 Passivation
Free iron-on milled stainless steel sparks rust. A citric or nitric bath strips it out, letting chromium rebuild a tight passive layer—no colour shift, no dimension loss.
#4. Chromate Conversion (Alodine)
Thin, slightly conductive, perfect for aircraft skins that rely on ground straps. The film keys primers, beats salt spray, and keeps weight down.
#5. Electroless Nickel Plating
Uniform build inside bores, on threads, everywhere. It mixes toughness with slickness, adds wear resistance, and steadies electrical conductivity on test probes.
Spraying Surface Finish
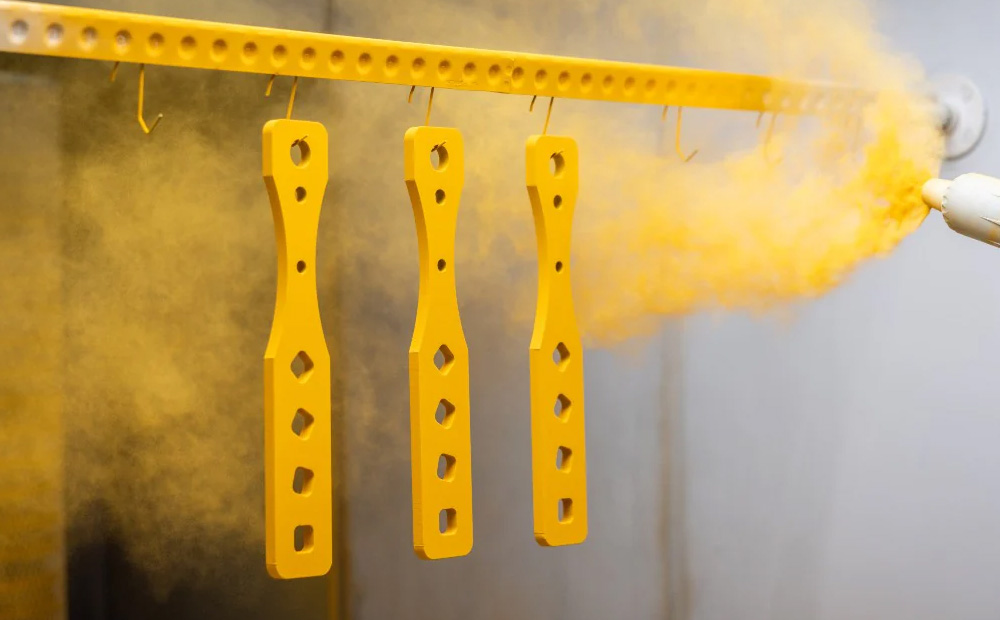
#1. Powder Coating
Charged resin powder clings to bare metal, then flows in a cure oven. You get impact strength, chip resistance, and endless colours—including textures that hide dents. Perfect for bike frames and rack mounts.
#2. Electroplating
Lay down copper for heat paths, chrome for mirrors, or gold for micro‑contacts. Thickness can be dialed to microns, letting you tune both look and functionality with one bath.
#3. Screen printing
Screen printing is a stencil-based printing technique where ink is forced through a fine mesh screen onto a substrate to create precise, durable designs or functional coatings.
#4. High‑Build Paint Systems
Two‑part epoxies handle solvents and fuel. Urethane topcoats shrug UV. A quick scuff with 320‑grit delivers anchor teeth for the primer, ensuring every coat locks in.
CNC Machining Finishes: Workflow, Cost, and Speed Tips
Design in the Finish. Add allowance for growth or removal early, so final size meets spec without extra passes.
Ask for an Instant Quote. Most finishing houses price by surface area and complexity; surprises vanish up front.
Mind the Cutters. Sharp cutting tools and stable feeds mean fewer valleys for finishes to fix.
Match Media to Material. Soft aluminum components need kinder grit; hardened tool steel can take a harsher hit.
Check with a Profilometer. Target Ra, record the number, then tweak feeds or media until you hit it every time.
Frequently Asked Questions
Q. How do I pick the right finishing process for my metal parts?
A: Start with a function. If the part rides on a seal or slides in a guide, you want smooth surfaces that cut friction. If it faces salt spray, corrosion control jumps to the front of the line.
Look at the alloy’s mechanical properties, service temperature, and target lifespan, then match them to a finish that strengthens weak spots instead of masking them. A brushed stainless hinge needs different treatment than a hardened steel punch, even though both are “metal.”
Q. Are standard CNC machining surface finishes enough, or do I still need post‑processing for a smoother finish?
A: A fine end‑mill pass can hit Ra 16 µin, which sounds great until you see the tiny peaks under a microscope. Those ridges trap oil, collect dust, and glare under paint. Light bead blasting or a quick polish often rounds them off in minutes, giving coatings a clean grip and seals a longer life. In short, machining gets you close; smart post‑processing takes you all the way.
Q. Does high‑precision CNC milling eliminate secondary finishing?
A: Tight feeds, sharp cutters, and rigid setups can bring size inside a two‑micron window. Dimensionally, you’re done. But dimensional accuracy isn’t the same as surface quality.
Even with ultra‑smooth toolpaths, the cutter still leaves directional lines. If the part handles fluid flow or cosmetic exposure, a follow‑up lap, hone, or blast will still pay off—just faster because the groundwork is perfect.
Q. How can I keep finishes cost‑effective and still deliver high‑quality parts?
A: Design with finishing in mind. Avoid complex pockets that need handwork. Specify the loosest Ra that still meets performance goals. Combine steps where possible—anodize and color in one bath, for example.
Most shops will quote multiple options; compare the price jump against real value in the field instead of chasing a lower spec sheet number nobody needs.
Q. Will finishing hurt the part’s mechanical properties?
A: Done right, no—it usually helps. Anodizing forms a hard ceramic layer on aluminum without altering the core. Shot peening introduces beneficial compressive stress, boosting fatigue life. Electropolishing removes micro‑cracks that can start failures.
Problems only pop up when heat, chemicals, or stock removal exceed what the design allows. Share the whole load case with your finisher so they can tailor the method, not just the appearance.